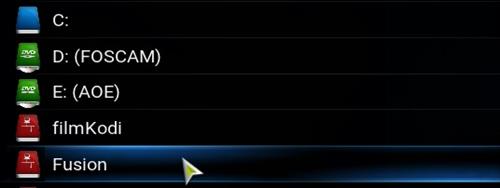
The Kodi Phoenix add-on is located in the Fusion TVADONS.ag repository.
http://fusion.tvaddons.ag/
If you already have Fusion TVADONS.ag installed than you can skip the steps for installing it, and install Phoenix on step 15 below.
For those doing a new install than this is a two part process, first installing Fusion than installing the Phoenix add-on.
1…
Goto System–>File Manager

2…
Add source

3…
A box will come up click where it says “None”.

4…
Type in the following URL http://fusion.tvaddons.ag/

5…
Type Fusion In the “enter name” box.

6…
Check the boxes and be sure everything has been typed in correctly.

7…
Goto back to the main page and goto System–>Settings

8…
Add-ons

9…
Install from Zip File

10…
Select Fusion

11…
Select xbmc-repos

12…
Select English

13…
Select repository.xbmchub-1.0.6.zip (If there is a new version install it.)

14…
Wait for the bottom right of the screen to show it installed. It may also update and say TVaddons Add-on Enabled.

15…
Install from repository

16…
Click TVADONS.ag Addon Repository

17…
Video add-ons

18…
Scroll down to Phoenix and click for it to install.

Phoenix addon will now be located from the main menu Video section.