A video walk through is at the bottom of the page.
Installing Kodi on a Raspberry Pi 3 is a easy task with the right tools. It is also one of the more fun and useful projects for the Pi 3.
The Pi 3 handles Kodi very well and is something many can do for a cheap Kodi setup.
If you have setup a Pi 2 with Kodi than the installation is the same.
Things Needed:
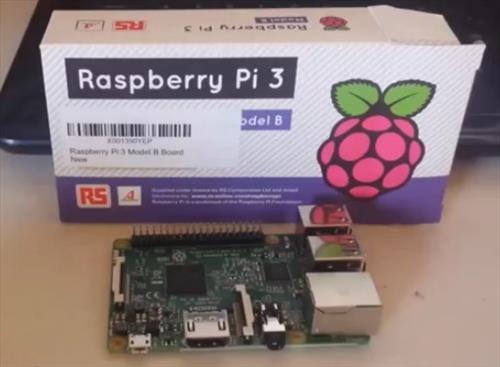
Raspberry Pi 3
HDMI Cable
Power Supply
A controller such as a mouse or keyboard.
Micro SD Card
If you already have all the extra components such as a HDMI cable, SD-Card and power supply than the only the Raspi 3 board will be needed.
If you dont have all the extras than a whole kit can be bought
CanaKit Raspberry Pi 3 Complete Starter Kit

A SD-Card writer will be needed. If your computers are like mine and dont have a Micro-SD Card Writer than there are cheap USB to Micro-SD card writers.
I bought this SD-Card Writer from Amazon and it is cheap and works good.
IOGEAR SD/MicroSD/MMC Card Reader/Writer

How To Install KODI On a Raspberry Pi 3
1…
A Pre-built Kodi Image file is needed to be written to the SD-Card.
The two most popular are OpenELEC and OSMC. In this setup I am using OpenELEC but either can be used and installed.
Download OpenELEC Image file here. http://openelec.tv/get-openelec
Scroll down the page to the Raspberry Pi2 and Raspberry Pi3 Builds.

2…
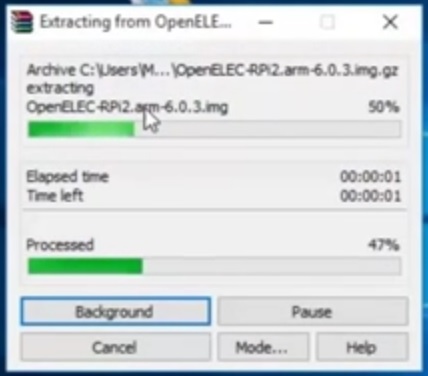
After downloading the Image file it needs to be extracted. The file will be in a .GZ file format.
A Window based computer does not come with a built-in way to extract a.GZ file.
WinRAR or similar is needed to extract the file.
WinRAR can be downloaded here. http://www.rarlab.com/download.htm
3…
Once the file is unzipped than it is ready to be written to the SD-Card.
I use Win32 Disk Imager to write files if you already have Image writing software then use it.
Here is the download to Win32 Disk Imager. https://sourceforge.net/projects/win32diskimager/
Insert your SD-Card into a SD-Card writer slot and open Win32 Disk Imager.
Click the folder icon and point it to were the OpenELEC Image file was extracted.
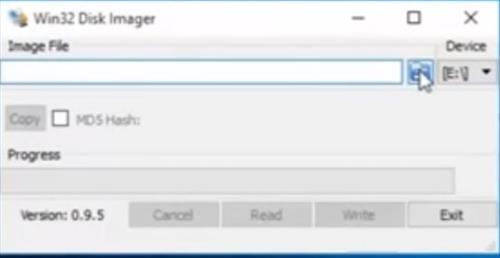
Be sure the correct drive is selected to write as Win32 Disk Imager will write to what ever it is set to!!
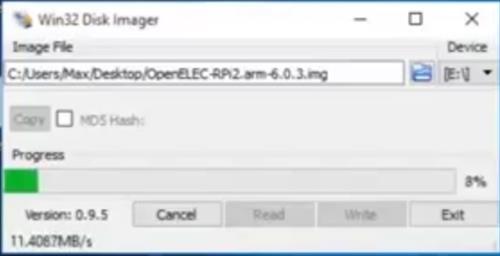
Once everything is set correctly click the write button and Win32 Disk Imager will write the Image file to the SD-Card.
4…
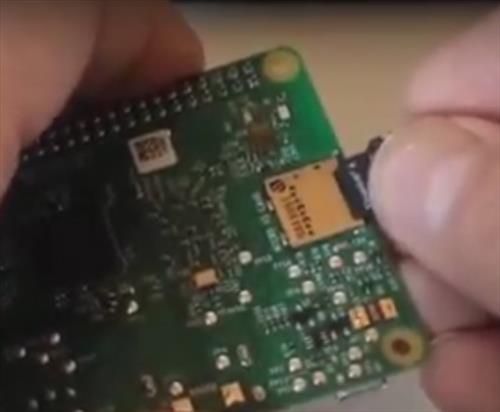
Once the Image is written than the SD-card can be inserted into the Pi 3.
5…
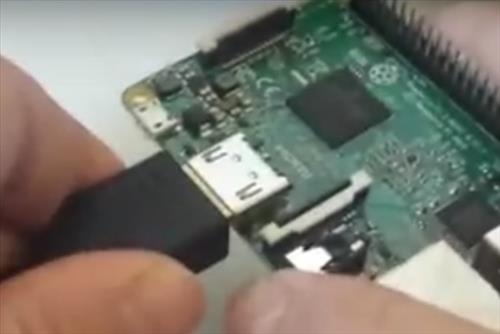
Plug in all the connections to a TV with a mouse, keyboard or other controller.
5…
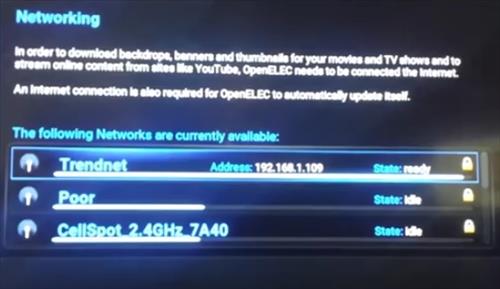
The first time it boots the WiFi or Ethernet need to be setup. I used the built-in WiFi with good results. Using a Ethernet connection maybe necessary for those in a crowded wireless environment or far from the router.
Summary
The Raspberry Pi 3 works very well with Kodi. The built in WiFi while not the best work well and streamed movies fine.
The Pi 3 is a big improvement over the Pi 2. The Pi 2 also will run Kodi but does freeze at times.
To get the most out of Kodi a repository needs to be added which will contain all the popular add-ons.
The install for repository and add-ons will be the same across all hardware platforms including the Raspberry Pi 3.
Here are tutorials for how to install add-ons into Kodi
Step by Step Kodi Jarvis and Exodus Install
A Guide To Kodi and Watching Free Movies and TV Shows: Updated 2016